
My Complete Travel Planning Workflow: How I Organize Every Trip From Start to Finish
People often think travel planning is complicated.
They imagine spreadsheets, endless browser tabs, and hours of research.
And while travel planning can certainly become overwhelming, it doesn’t have to.
Over time, I’ve developed a simple workflow that helps me organize trips efficiently while still leaving room for spontaneity and adventure.
Whether I’m planning a weekend city break, a road trip through Scotland, or a wildlife-focused journey into nature, I follow the same basic process every time.
This is the exact travel planning workflow I use from start to finish.
Why Having a Travel Planning System Matters
Many travelers approach every trip differently.
As a result, they often:
- Forget important details
- Overspend
- Feel stressed before departure
- Waste time researching the same things repeatedly
Having a repeatable system eliminates much of that stress.
Instead of wondering what to do next, you simply follow the process.
Step 1: Start With Inspiration
Every trip begins with a spark.
Sometimes it’s:
- A photo
- A documentary
- A conversation
- A wildlife encounter
- A destination I’ve always wanted to visit
I keep a running list of destinations that interest me.
Whenever I discover somewhere exciting, I save it.
This means I’m never starting from zero when it’s time to plan.
My Inspiration Sources
- Travel blogs
- YouTube
- Nature documentaries
- Travel books
The goal isn’t to immediately book a trip.
The goal is simply collecting ideas.
Step 2: Define the Trip Goal
Before researching flights or hotels, I ask:
What do I want from this trip?
Possible goals include:
- Relaxation
- Adventure
- Wildlife
- Photography
- Hiking
- Culture
- Road tripping
This single question helps guide every decision that follows.
Step 3: Establish a Budget
Next, I determine what I’m comfortable spending.
I divide my budget into categories:
Transportation
Flights, trains, fuel, rental cars.
Accommodation
Hotels, hostels, cabins, apartments.
Activities
Tours, attractions, national parks.
Food
Restaurants and groceries.
Emergency Buffer
I always reserve extra money for unexpected expenses.
No trip ever goes exactly according to plan.
Step 4: Research Destinations
Now the fun begins.
At this stage, I focus on:
Weather
What conditions can I expect?
Crowds
Is it peak season?
Wildlife Opportunities
If nature is part of the trip, what species might I encounter?
Photography Conditions
When are sunrise and sunset?
What landscapes are available?
Accessibility
How easy is transportation?
The goal isn’t to become an expert.
The goal is to understand enough to make informed decisions.

Step 5: Create a Rough Itinerary
Notice I said rough itinerary.
Not perfect itinerary.
I don’t schedule every minute.
Instead, I identify:
Must-See Experiences
The things I absolutely don’t want to miss.
Nice-to-Have Experiences
Activities I’d like to do if time allows.
Free Time
This is where many of the best travel moments happen.
Overplanning often creates unnecessary pressure.
Step 6: Book Flights
Once I know my destination and dates, I begin comparing flights.
Things I consider:
- Price
- Layovers
- Departure times
- Arrival times
- Total travel duration
Cheapest isn’t always best.
Sometimes paying slightly more improves the entire experience.
Step 7: Book Accommodation
Accommodation can dramatically influence a trip.
When choosing where to stay, I prioritize:
Location
Can I walk to attractions?
Reviews
Recent reviews matter most.
Value
Not necessarily the cheapest option.
The best balance between quality and price.
Comfort
After long travel days, a comfortable place to recharge is worth a lot.
Step 8: Build My Planning Hub
This is where everything gets organized.
I create one central location for:
- Flight details
- Hotel reservations
- Activity ideas
- Maps
- Notes
This prevents information from being scattered across multiple apps and emails.
For me, organization reduces stress more than anything else.
Step 9: Save Important Documents
Before every trip, I save copies of:
- Passport
- Insurance
- Reservations
- Emergency contacts
Both online and offline.
Losing documents is stressful.
Being prepared makes recovery much easier.
Step 10: Research Transportation
I never want transportation surprises after arrival.
Before departure I research:
- Airport transfers
- Train systems
- Public transportation
- Parking
- Rental cars
Even 20 minutes of preparation can save hours later.
Step 11: Check Gear and Equipment
A week before departure, I check all essential gear.
This includes:
Travel Gear
- Backpack
- Luggage
- Adapter
- Power bank
Photography Gear
- Camera
- Batteries
- Memory cards
Outdoor Gear
- Hiking equipment
- Waterproof layers
- Binoculars
This prevents last-minute surprises.
Step 12: Create a Packing Checklist
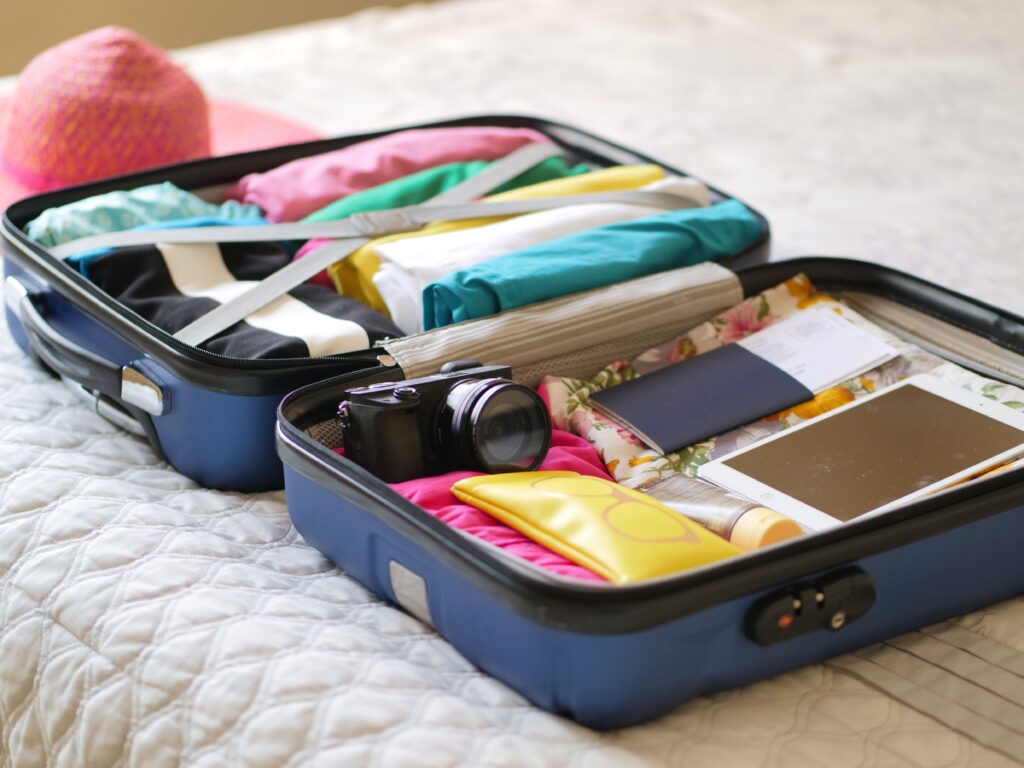
I never trust memory.
Every trip gets a checklist.
This reduces stress and dramatically lowers the chance of forgetting something important.
My packing list includes:
- Documents
- Clothing
- Electronics
- Health items
- Photography gear
Simple but effective.
Step 13: Leave Room for Adventure
This might be the most important step.
I intentionally avoid filling every hour.
Travel is full of unexpected opportunities:
- Scenic detours
- Wildlife sightings
- Local recommendations
- Hidden viewpoints
The more flexible I remain, the more memorable the trip often becomes.
My Travel Planning Timeline
3–6 Months Before
- Destination research
- Budget planning
2–4 Months Before
- Flights
- Accommodation
1 Month Before
- Itinerary planning
- Insurance
1 Week Before
- Packing
- Gear checks
Day Before
- Final document review
- Download offline maps
Simple.
Repeatable.
Effective.
Final Thoughts
Travel planning doesn’t need to be complicated.
The goal isn’t creating the perfect itinerary.
The goal is creating enough structure that you can travel confidently while still allowing room for discovery.
This workflow has helped me organize trips more efficiently, reduce stress, and focus on the part of travel that matters most: the experience itself.
The better your planning system becomes, the more energy you’ll have for enjoying the adventure.